Introduction to PC Building
Building your own PC can be a rewarding experience, offering both personal satisfaction and the opportunity to create a machine that perfectly fits your needs. Whether you're a gamer, a content creator, or just someone looking for a custom computing solution, this guide will walk you through the basics of assembling your own computer.
Why Build Your Own PC?
Building a PC allows you to select each component based on your specific requirements, ensuring optimal performance and value. It also provides a deeper understanding of how computers work, which can be invaluable for troubleshooting and upgrades in the future.
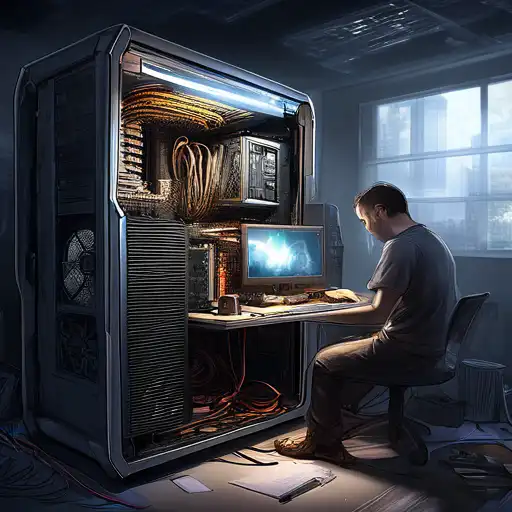
Essential Components for Building a PC
Before you start, it's important to familiarize yourself with the key components needed to build a PC:
- Processor (CPU): The brain of your computer, responsible for executing instructions.
- Motherboard: The main circuit board that connects all components.
- Memory (RAM): Temporary storage that your CPU uses to store data for quick access.
- Storage (SSD/HDD): Where your operating system, applications, and files are stored.
- Power Supply Unit (PSU): Provides power to all components.
- Case: Houses all the components and protects them from dust and damage.
- Graphics Card (GPU): Essential for gaming and graphic-intensive tasks.
Choosing the Right Components
Selecting the right components is crucial for building a PC that meets your needs. Consider factors such as compatibility, performance, and budget. Researching and comparing different options can help you make informed decisions.
Step-by-Step Guide to Building Your PC
Now that you're familiar with the components, let's dive into the building process:
- Prepare Your Workspace: Ensure you have a clean, static-free area to work in.
- Install the CPU: Carefully place the CPU into the motherboard's socket.
- Install RAM: Insert the RAM sticks into the appropriate slots on the motherboard.
- Mount the Motherboard: Secure the motherboard inside the case.
- Install Storage: Connect your SSD or HDD to the motherboard and power supply.
- Install the GPU: If you're using a dedicated graphics card, insert it into the PCIe slot.
- Connect the PSU: Attach the power supply to the motherboard and other components.
- Cable Management: Organize cables to ensure good airflow and aesthetics.
- Power On: Connect your monitor, keyboard, and mouse, then power on your PC to test.
Installing the Operating System
After assembling your PC, the next step is to install an operating system. Whether you choose Windows, Linux, or another OS, ensure you have a bootable USB drive or DVD ready for installation.
Final Thoughts
Building a PC is a fulfilling project that can save you money and give you a custom machine tailored to your needs. With the right preparation and patience, anyone can assemble their own computer. For more tech guides and tips, check out our other articles on technology and DIY projects.